Saturday, March 14, 2015

How to Withdraw Funds From Your COL Financial Account


If you wish to withdraw funds from you COL Financial account, you may ask fellow investors or traders from different groups in facebook. There are a lot of kind and helpful people out there who are very willing to answer your question. But to make life easier for those who has not experienced withdrawing funds from their COL accounts yet, I prepared this step-by-step procedure for you.

1. Log-in to your COL account. From the HOME tab, click FORMS as shown:


2. From the FORMS tab, download the "Request for Withdrawal of Funds Form" PDF file.


3. Print the form and fill in the all the required information. If your COL account is a joint account, only one signature either by the primary or the secondary account holder is enough.


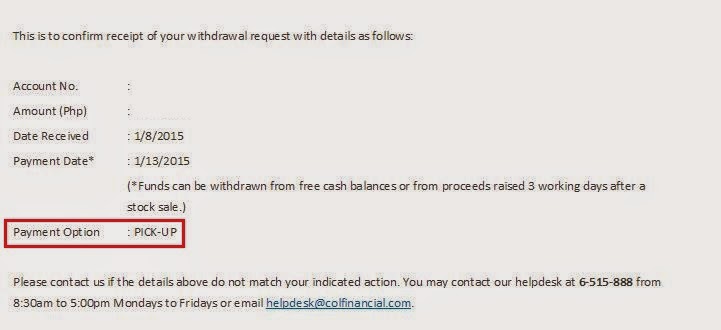
4. Under the "Special Instructions" column, make sure to select the payment option whether by "CHECK PICK-UP" or "DEPOSIT TO REGISTERED ACCOUNT" This is very important because in my experience during one of my withdrawal request, after sending the request email to COL, I noticed that I forgot to check my preferred method of payment but since I have the registered bank account and I have made two withdrawals previously, I thought that it will be automatically transferred to my account. But when I received their confirmation email, the payment option stated was "PICK-UP". So don't forget to choose your preferred payment option. 


5. Once you're done filling out the form, scan it and send to their email at withdrawals@colfinancial.com. Once you receive their receipt confirmation email, check all the details and notify them immediately for any corrections like the one I mentioned above. If everything is correct, you will receive your money within 3 banking days.

I hope you find this simple presentation helpful.
Happy trading

Saturday, January 31, 2015

Low-Light Photography Experience

It is said that it is easy to take photographs during daytime where there is ample light to illuminate the object that you want to take pictures of. The challenge to photographers, professional and amateurs like me alike is taking photographs at night or during hours where there is low-light. My first attempt in low-light photography was a real mess. I went to the park at night and started taking photos but when I looked at the pictures, it was nowhere close to what I expected to see. Dark pictures, blurred and ghost-like images are the result of my first crack at low-light photography. 
When I got home that night, I searched on the internet and watched videos and asked some friends about the basics of photography especially night and low-light. As a result of my search, below is the basic settings and requirements that use for my low-light photography.

1. Slow down the shutter -  Slow shutter speed allows the light to enter the sensor for a longer period of     time. 

2. Use tripod -  If you are shooting without tripod at slow shutter speed, the result will be blurred or ghost-like image. Shutter speeds slower than 1/60th of a  second requires a tripod to hold the camera in place. You may also need a remote release or to set the timer to prevent the camera from shaking. 

3. Use higher ISO - Higher ISO setting can help so as to make the sensor more sensitive to light reaching it. Keep in mind however that using a high ISO can generate noise to the image. Be careful not to crank up the ISO too much but if you do, you may need to filter the noise in post-processing.

4. Higher aperture - The smaller the F-value, the larger the aperture meaning the larger the opening of the lens to allow more light to reach the sensor. I just have a little reservation in using the aperture to in taking photos at night or in low-light. In my experience, there are images that I took using a smaller aperture but I still get the result that I want as long as I slow down the shutter long enough to somehow get the correct exposure. Whenever I use large aperture with slow shutter speed, the image is too bright so I still have to compensate by adjusting either the aperture or the shutter speed. But for sure professional photographers has a better way of doing it.

Here are some photos that I took using the basic requirements mentioned above. These photos are not as stunning as the images captured by professionals and other beginners like me but they are far from my first attempts in low-light photography.


I would like to thank the NIKON D5100 gorup in facebook. I learned a lot from the members who share their photos and settings used.